 Fuck Each Other Not The Planet Unisex
 Wear My Kink
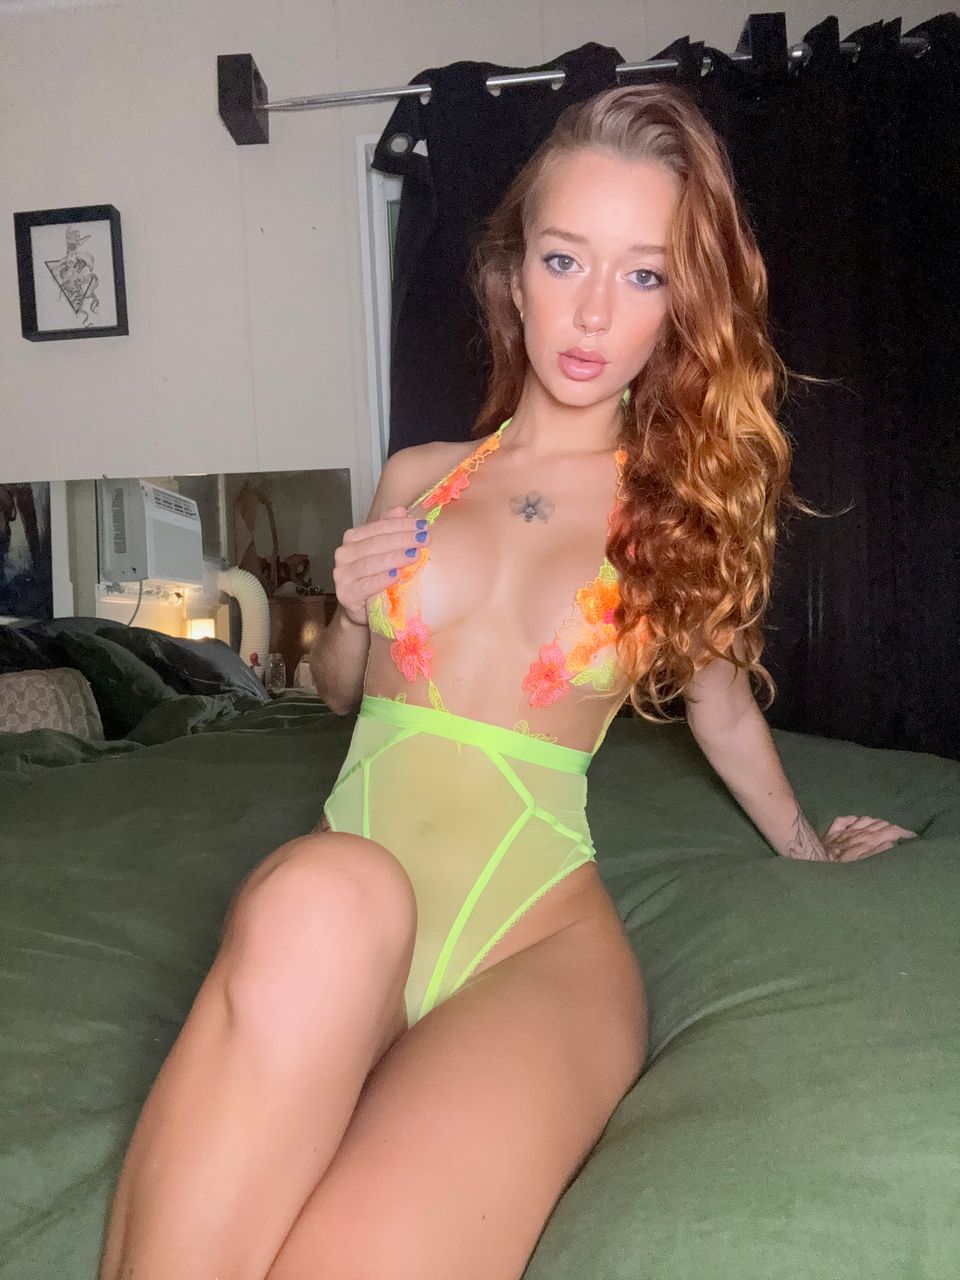
Anatomy: Violin Hips Explanation

Welcome to a deep dive into the anatomy that creates the violin hip silhouette and what you can do about it. If you are chasing a certain look for photos or videos or you simply want to understand your body better this guide breaks down the science behind hip dips and practical ways to work with visuals and movement. For more on the topic of hip dips and curated content you can check our main guide here Best Hip Dips OnlyFans and see how creators leverage the same ideas in their feeds. This is a friendly no judgment space where practical tips meet real world experiences and a dash of sass.
What are violin hips and what shapes them
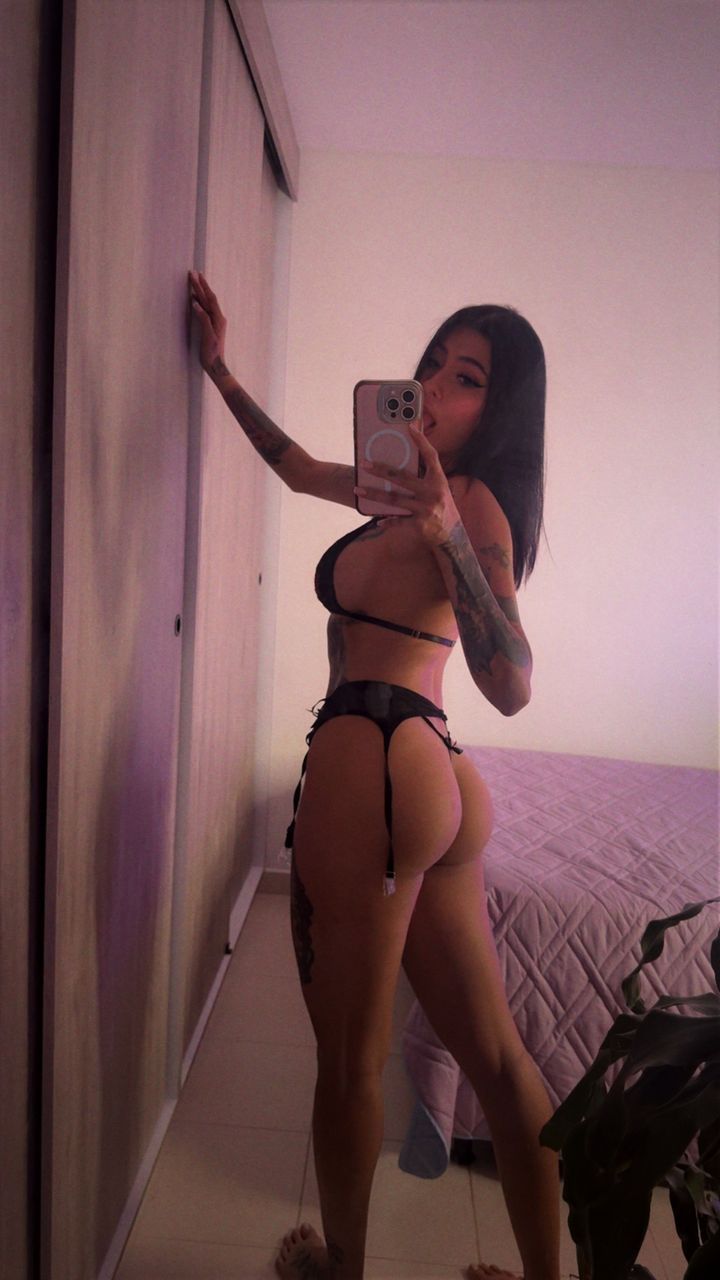
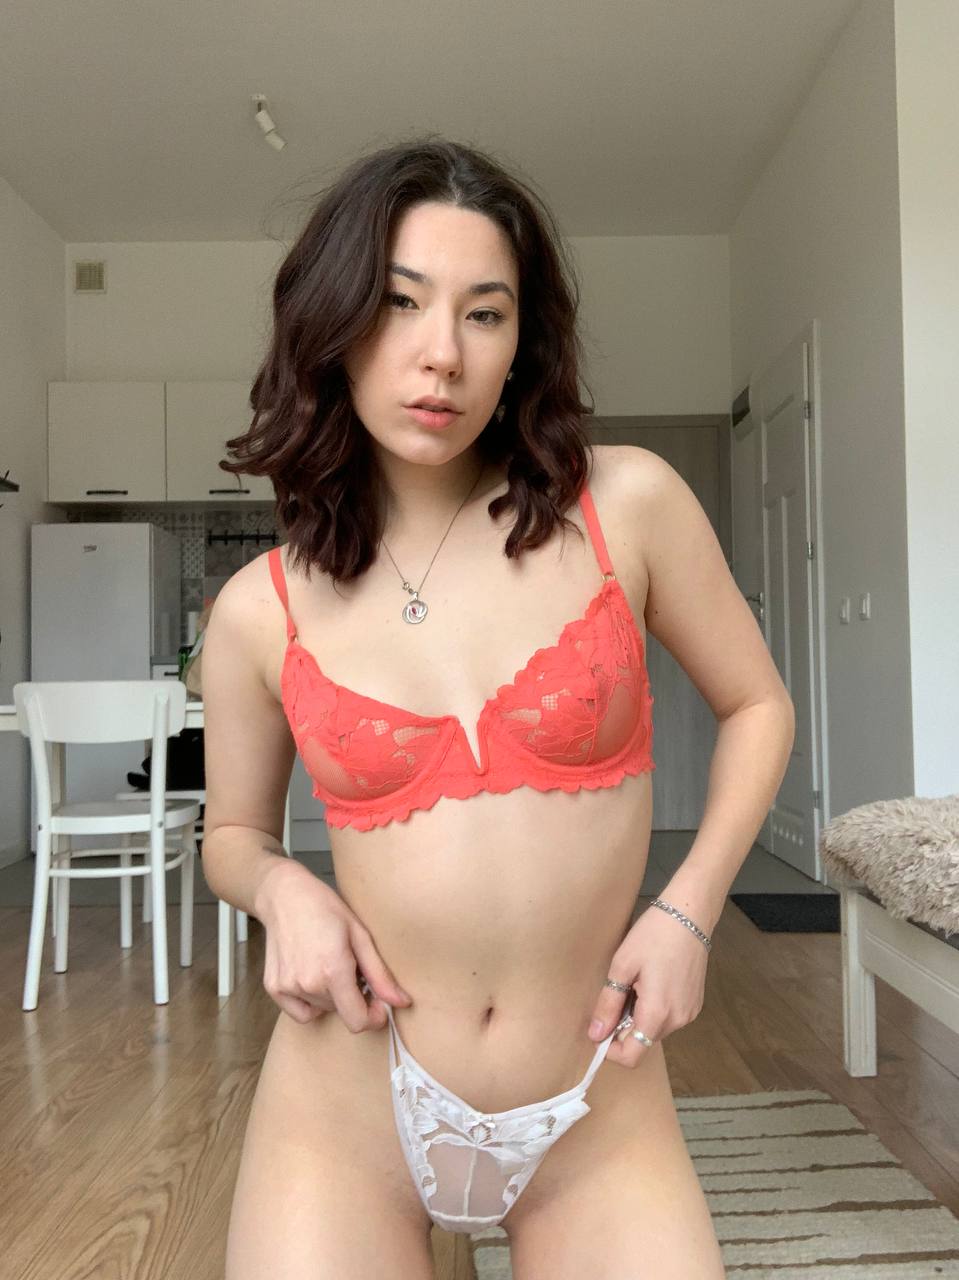
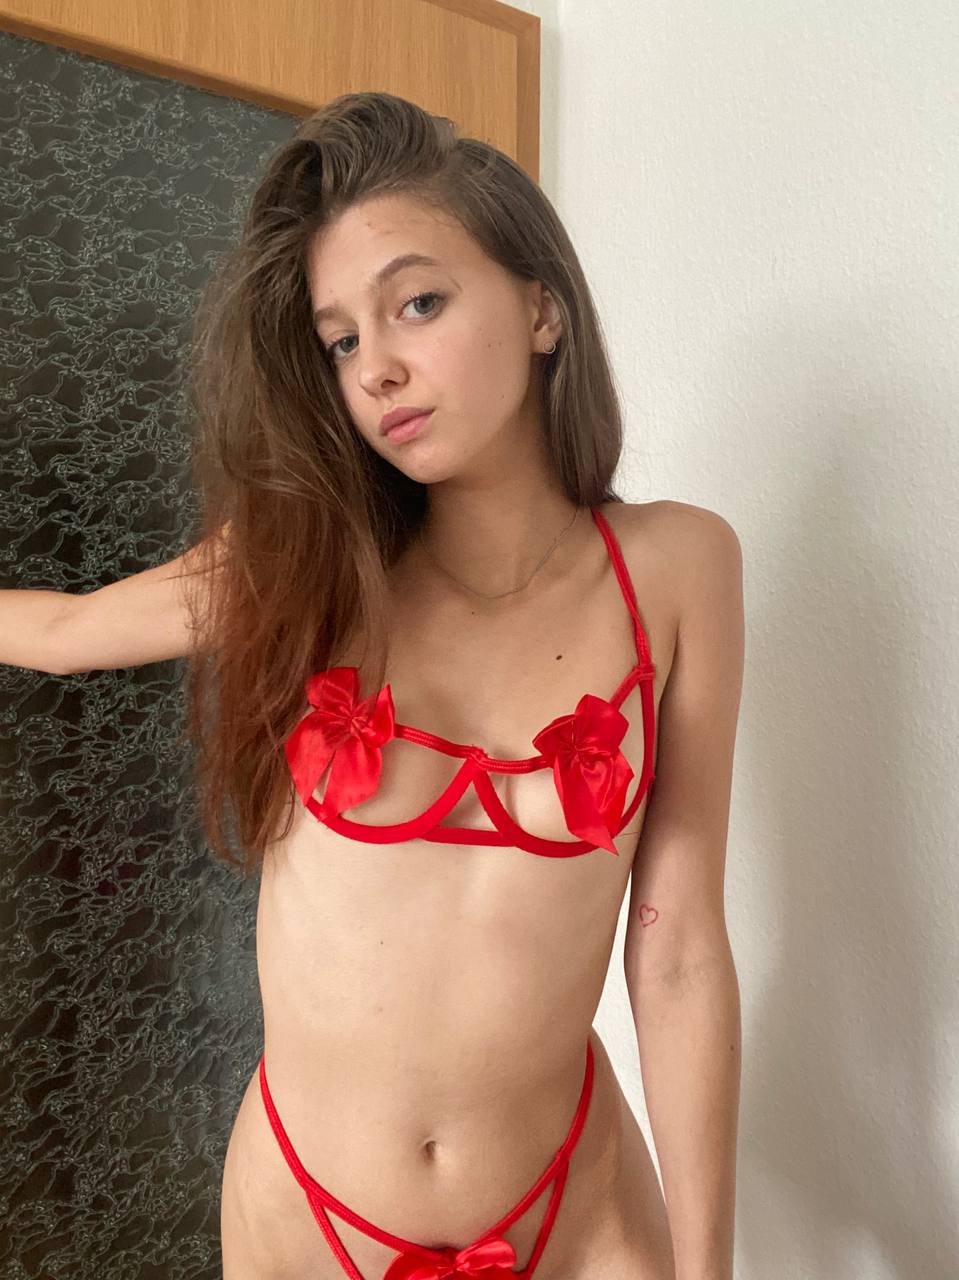
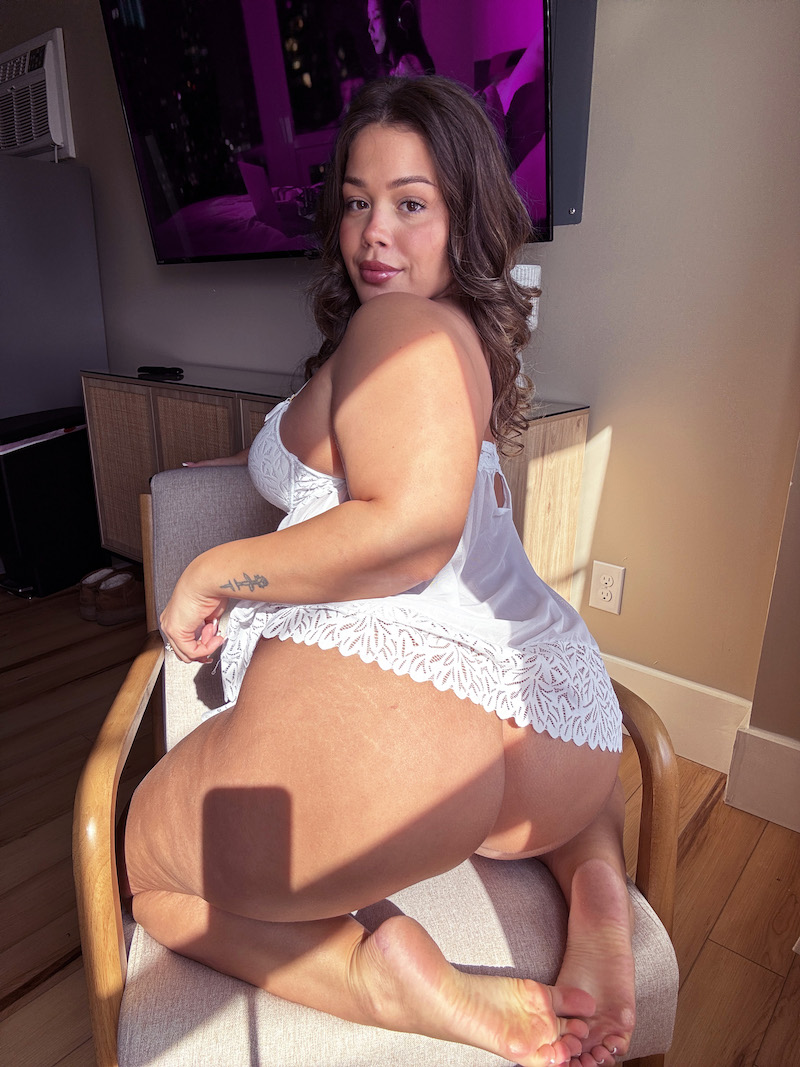
Violin hips is the popular term for the natural indentation that can appear on the outer edge of the pelvis when a person stands with their hips relaxed. The look resembles the curve of a violin which gives the name. The indentation is influenced by the shape of the pelvic bones by the width of the hips and by the distribution of soft tissue around the sides of the hips. Some people have a very pronounced dip while others barely notice it. All of this is normal and part of human diversity.
Two main anatomical components shape hip dips. The first is the bone architecture. The pelvis sits in a wide bowl and the iliac crests form the upper edge of the hip. The width of the pelvis relative to the thighs influences how dramatic the dip appears. The second component is the soft tissue envelope including muscles and fat. The gluteus medius and minimus the tensor fasciae latae and the surrounding fat pad all contribute to how the edge of the hip looks when you stand in different positions. Lighting posture and movement can all alter appearance which means hip dips are not permanently fixed in one way.
Why hip dips appear and do not disappear with effort
The shape is largely determined by bone structure which means there is a limit to how much you can change the underlying geometry. That said targeted exercises can increase muscle size and tone in the surrounding areas which can reduce the visual contrast between the dip and the surrounding contour. Think of it as smoothing the transition rather than filling in a gap. With consistent work you can achieve a more balanced and athletic look that still respects natural shape.
Genetics play a big role as do posture and habitual movement patterns. If you carry tension in the hip region or favor one leg when you stand you might emphasize or soften the dip temporarily. A dynamic approach that includes mobility strength and posture work is most effective for improving the overall silhouette. Understand that progress is gradual and should be celebrated as a positive change in alignment and strength rather than a dramatic shape shift.
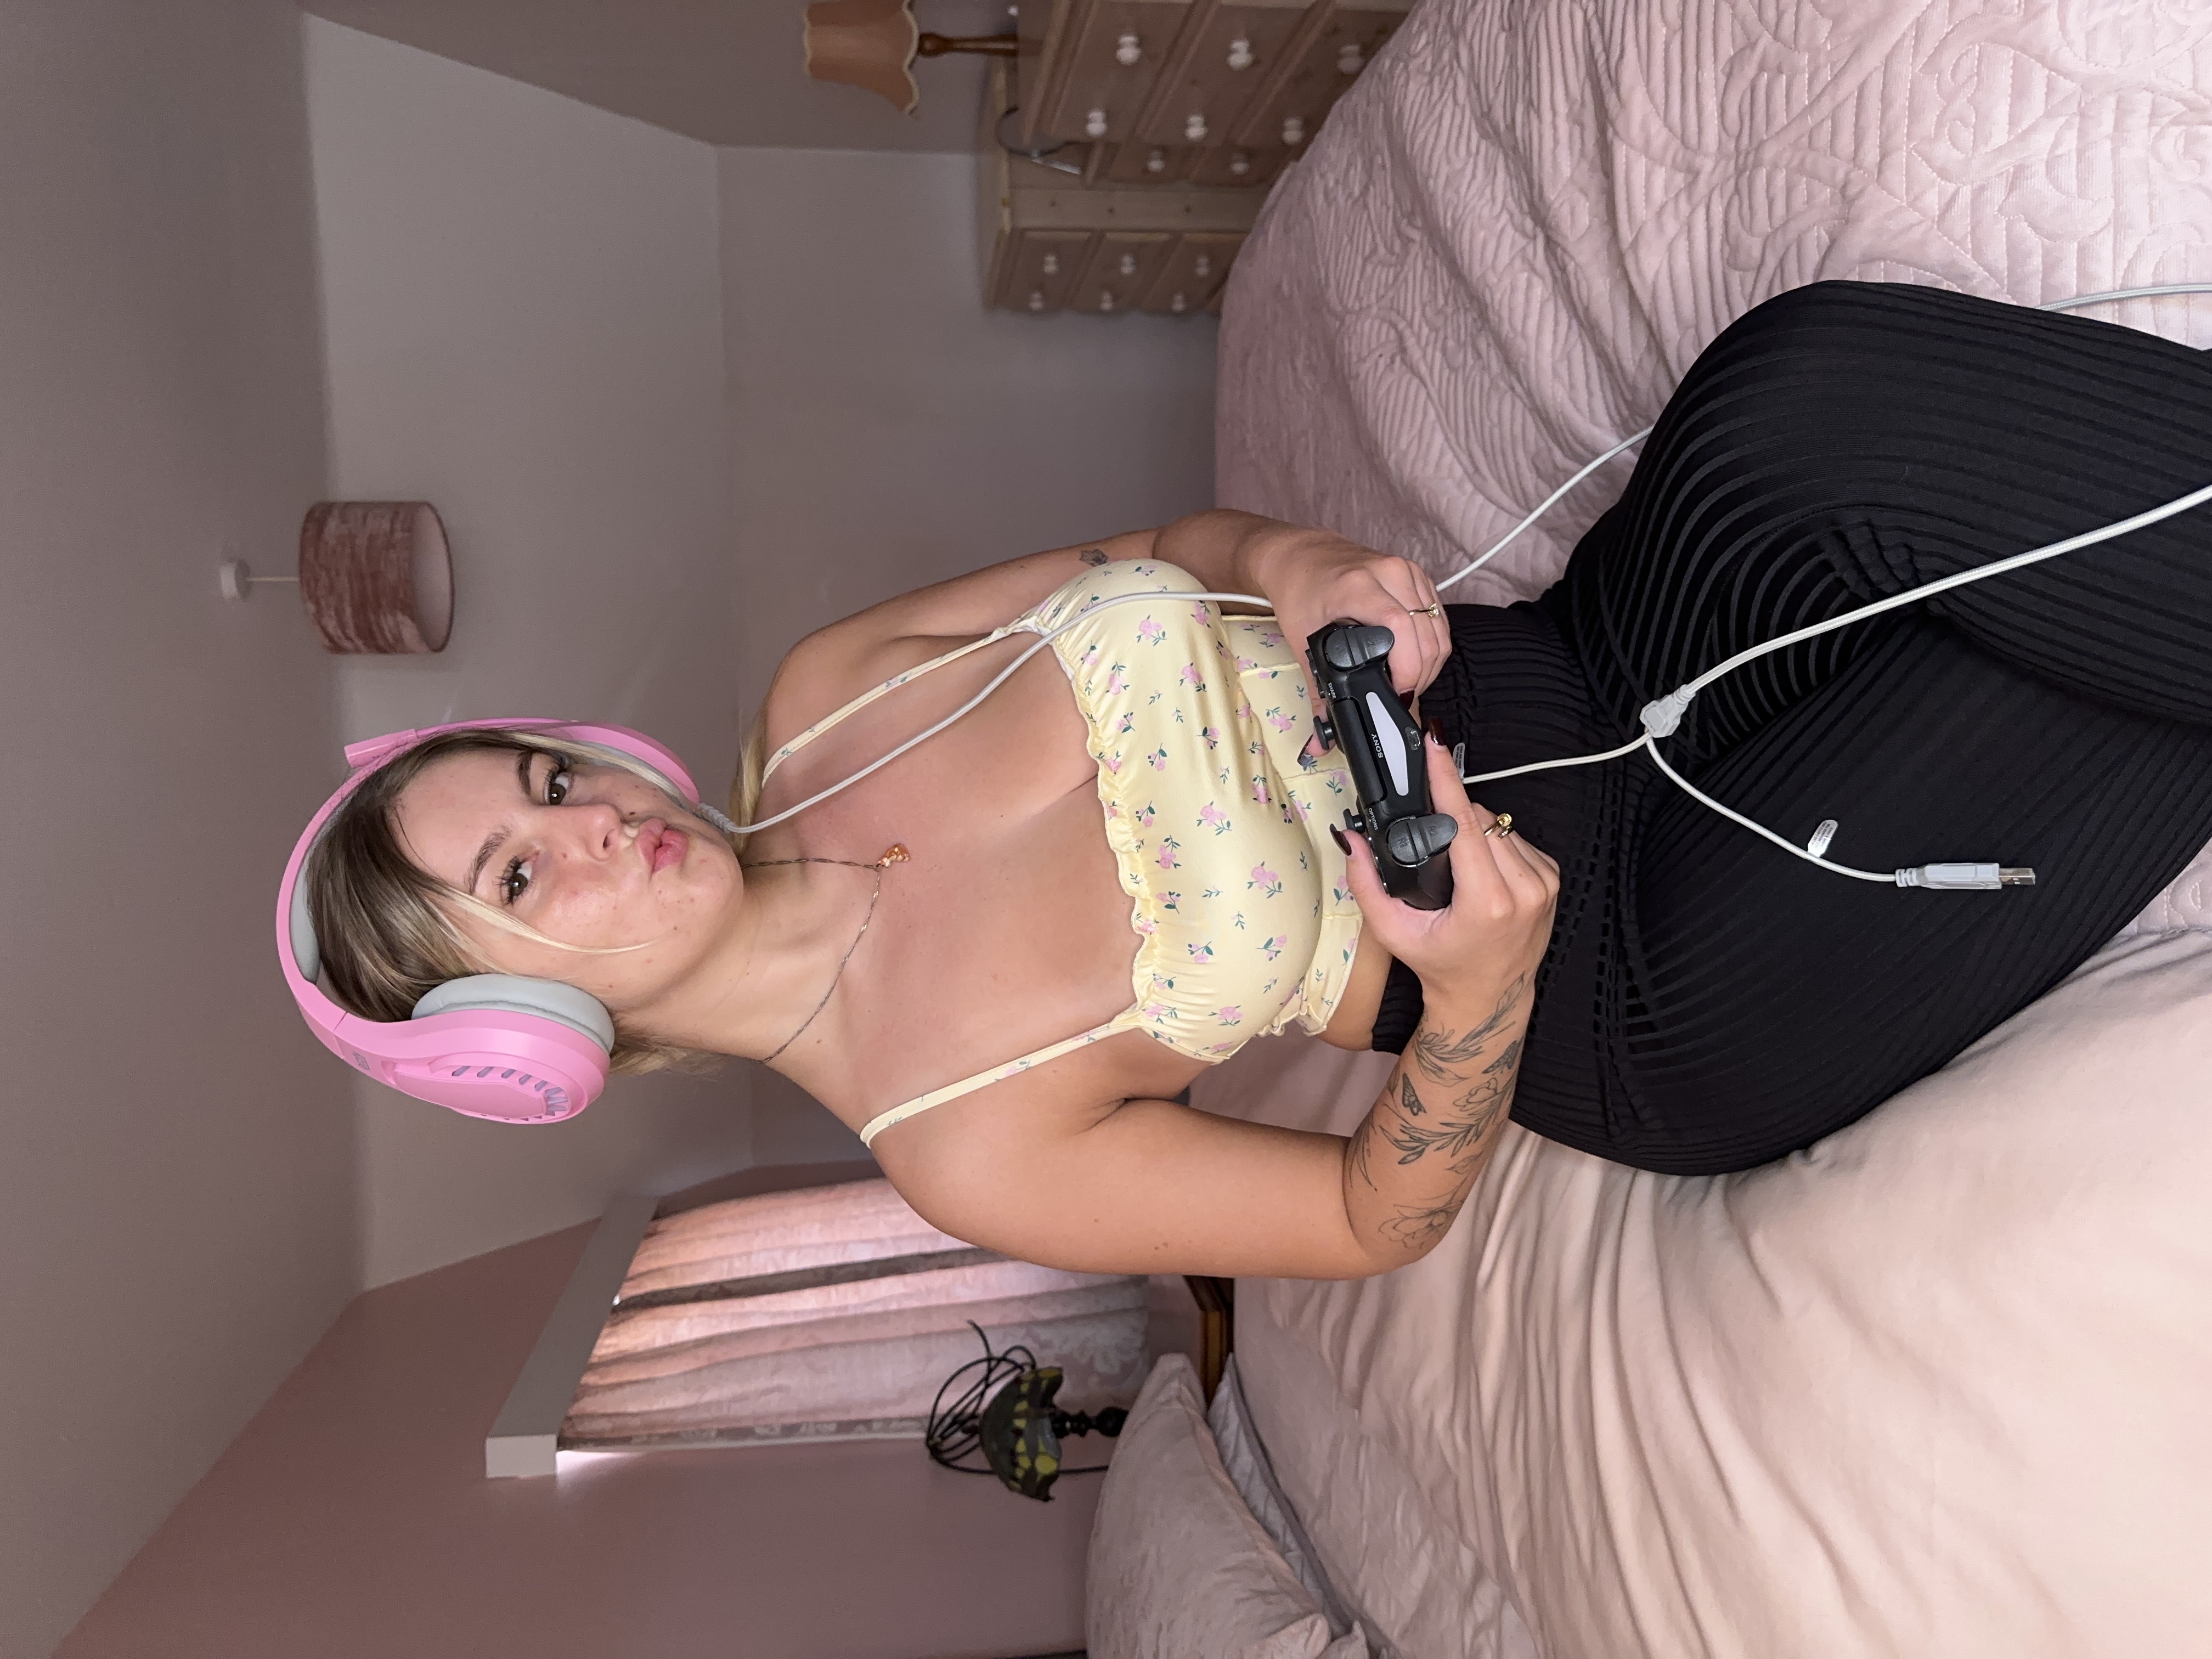
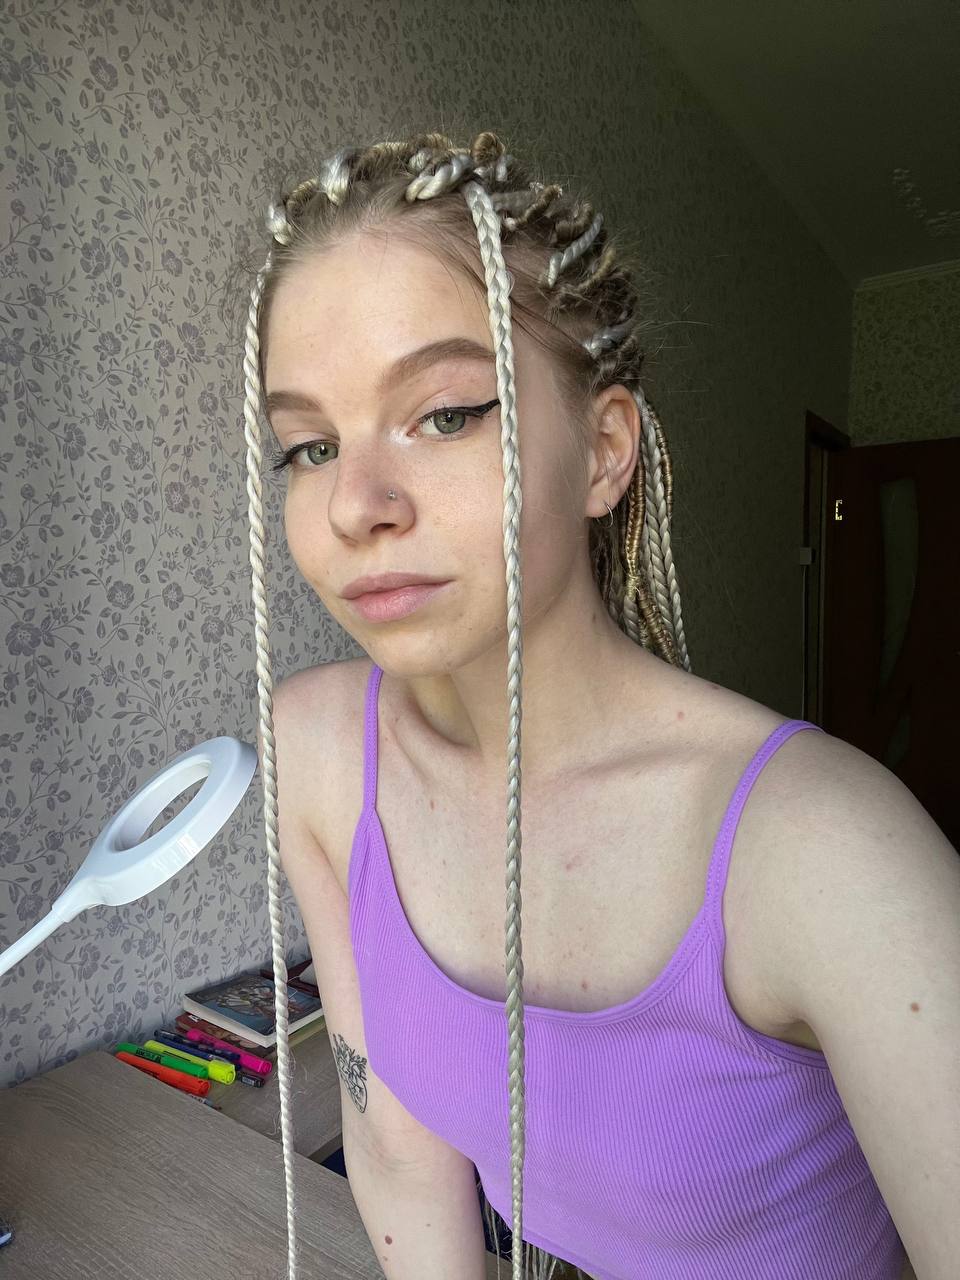
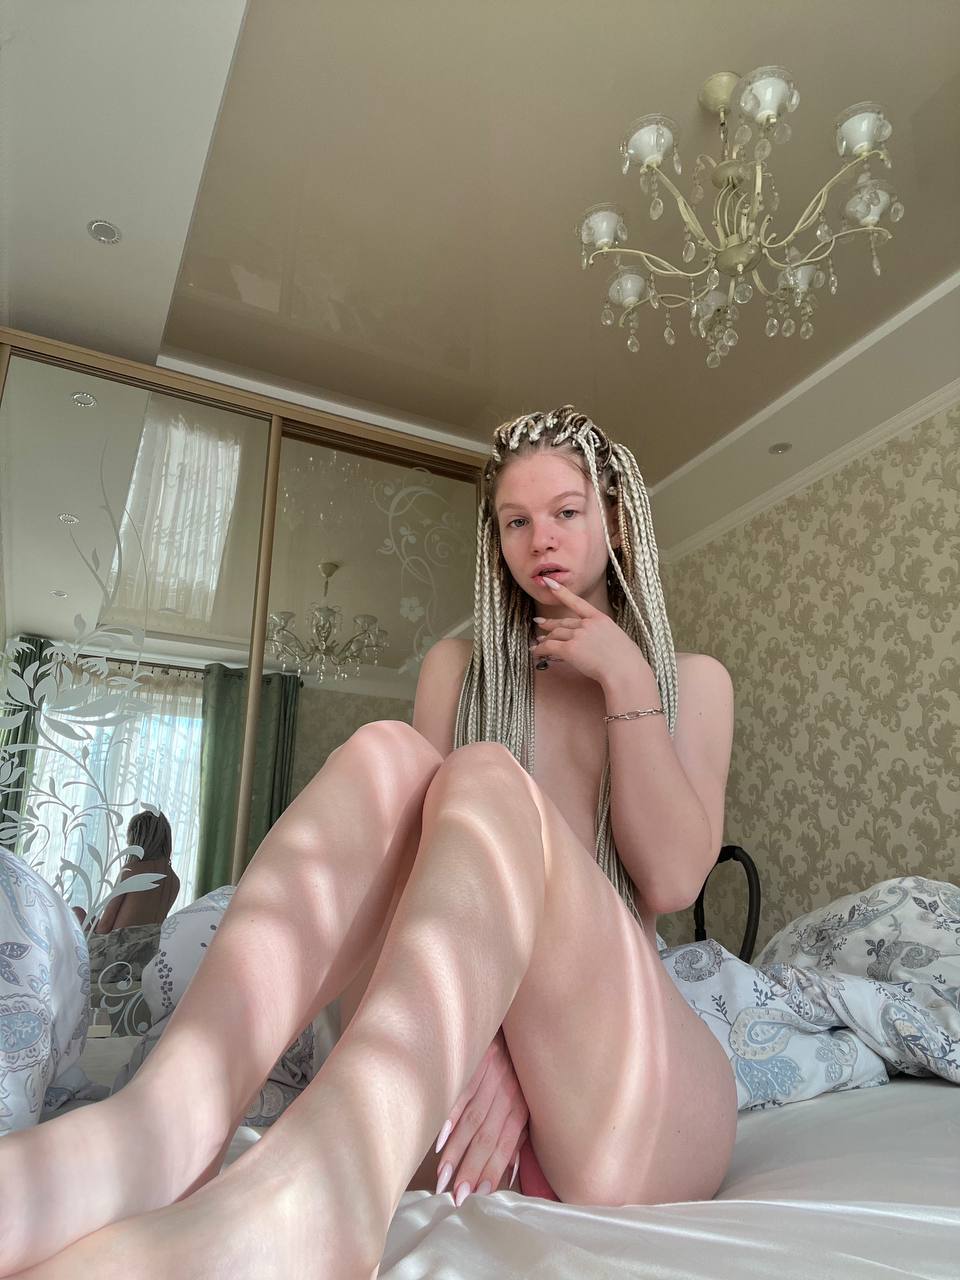
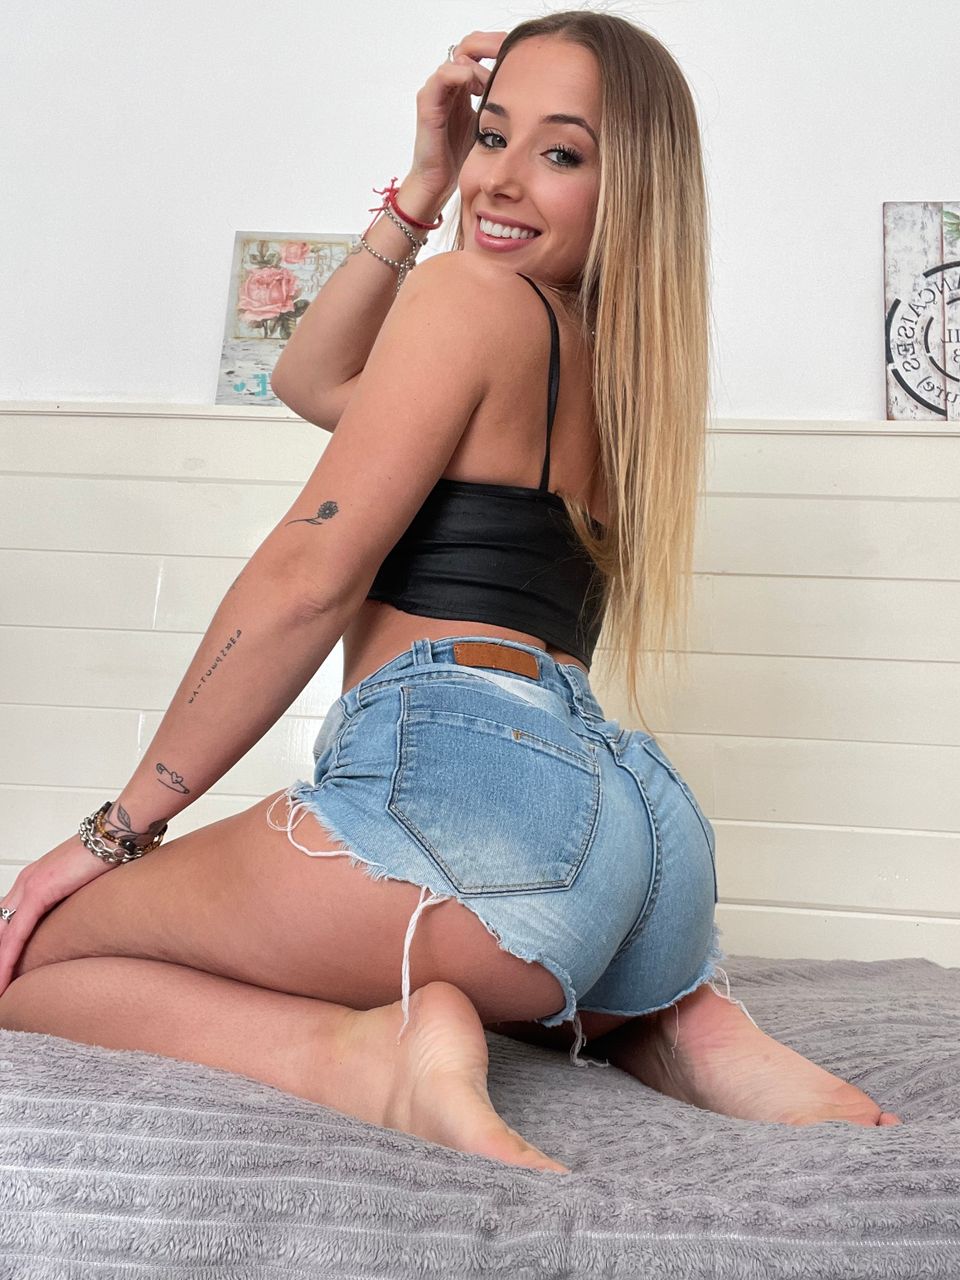
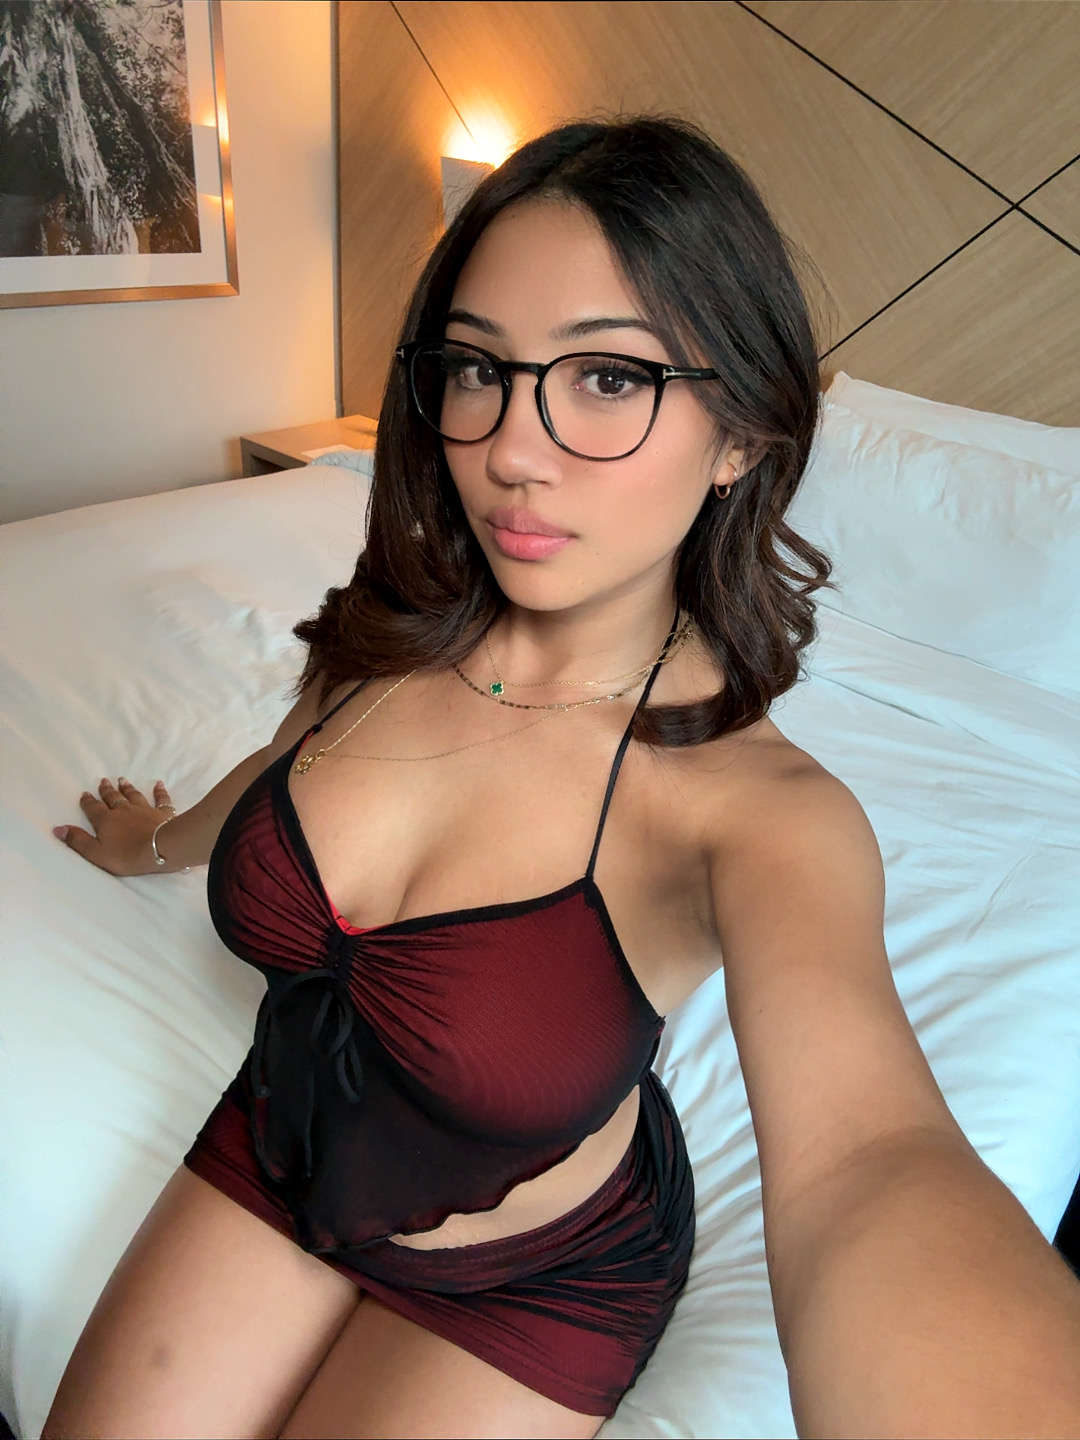
Best Hip Dips OnlyFans: 25+ Wild Free OF | You Won't Believe #1

Eli Goth 🖤


👅 Bunny Spits 💦


🥵 Shadow Kitsune


😈 Anna Filthy Princess 👑


🇬🇧 Submissive British Sofia 🧚


Latina Milf Paula Flores 😈


😛 Slutty Jai ⭐


🍌Innocent Hanna Banana🍌


Viktoria Kristensen 🇳🇴✨


😈 Ali Cruz Da Latina 💓


Tiny Katya Sun 💋


Redhead Ivy Eros💋


Slutty Sofia💕
Use OnlyFans Without Anyone Knowing…
Tired of looking over your shoulder? Goon in total, blissful anonymity with our OnlyFans Stealth Browsing Guide. No bank alerts, no leaks, and zero trail. Download the FREE guide and use OnlyFans without anyone knowing. Pope-Approved 😂
Check your inbox 📬
We've sent a 6-digit code to . Enter it below to get your guide. Code expires in 15 minutes.
Building your guide… 🔒
Hang tight — we're generating your personalised Stealth Browsing Guide. Your download will start automatically in a few seconds. We'll also email you a copy.
Preparing…
Your eBook should have downloaded automatically.
Click here if it didn't start.
The biomechanics behind the dip
To appreciate how hip dips form it helps to understand the biomechanics of the hip joint. The hip is a ball and socket joint that allows a wide range of motion. The hip bone sits within a ring of muscles tendons and ligaments. The way these soft tissues wrap around the pelvis influences whether the outer edge looks flat or recessed. Movement patterns such as leg abduction crossing the legs or stepping into deep stretches can temporarily accentuate or reduce the dip. Strengthening the lateral hip muscles can help improve the outer contour while maintaining healthy joint function.
Another factor is body fat distribution. People with lower subcutaneous fat in the hip region may show a more pronounced dip. Gaining balanced muscle mass in the glutes and hips plus an even distribution of fat can help create a smoother transition around the pelvis without erasing individual variation traits you might love about your body.
Common myths debunked about hip dips
Yes hip dips have a reputation that can feel annoying. It is time to bust the most common misconceptions with straightforward facts and a little humor. First myth you can change your bone structure with workouts. Not true bone geometry is fixed once you finish growing. Second myth you need to be a certain size to have hip dips. Hip dips occur across a wide range of body types and sizes and you can emphasize or soften them depending on posture clothing and conditioning. Third myth you must avoid certain exercises to not worsen the look. The right approach is selective training that supports hip stability and symmetry while protecting the joints. Finally number four there is a universal cure. There is no one magic exercise that will erase hip dips completely for everyone but there are proven strategies that improve appearance and function.
How to assess your hip dip aesthetics
An honest assessment starts with a mirror and a camera. Stand relaxed with feet hip width apart then rotate slightly to view the hips from the front and a gentle angle from the side. Look for the depth of the indentation along the outer curve and note how much of the surrounding tissue softens the transition. Try a few poses often used in photo shoots such as a slight tilt of the pelvis a turn of the upper body away from the camera and a stance that places weight on one leg. Each posture will reveal different aspects of the hip edge and help you plan adjustments with intention rather than guesswork.
If you create video content with a focus on hip dips consider lighting that sculpts the edges. Side lighting or a soft low angle light can emphasize shadows along the curve while a brighter frontal light can flatten the silhouette. Experiment with angles that highlight the shape you want to showcase and choose wardrobe that complements the look you aim to achieve. Perceived shape can shift dramatically with careful posing and lighting which means you control a large part of the visual outcome without changing your anatomy.
Exercises and routines to balance the hip silhouette
Remember the goal is to improve balance and strength not to erase a natural feature. Here is a practical routine you can adopt a few times per week to support lateral hip stability and glute engagement. Perform each exercise for 2 to 3 sets of 12 to 15 repetitions. If you are new to exercise or have any medical concerns consult a trainer or healthcare professional before starting a new program.
1. Clamshells
Lie on your side with knees bent and legs stacked. Keep feet together and lift the top knee while keeping the pelvis stable. Pause at the top then return to the start. This targets the gluteus medius a key muscle for the outer hip edge. Focus on smooth controlled movements rather than speed.
2. Side lying leg raises
Lie on your side with the bottom leg bent for stability and the top leg extended. Lift the top leg to about 45 degrees then slowly lower. This exercise builds side hip strength which can help reduce the prominence of the dip when you stand tall.
3. Lateral band walks
Place a resistance band above the knees or around the ankles and step sideways keeping tension on the band. Small controlled steps create a strong lateral chain across the hips this contributes to a fuller outer hip contour over time.
4. Hip thrusts and glute bridges
These moves engage the glutes and the hamstrings and add to the posterior chain. Position feet flat on the floor or on a bench depending on your level and press through the heels to lift the hips high. A slow controlled descent keeps tension where you want it.
5. Bulgarian split squats
Position one foot behind on a bench and perform a squat with the other leg. This classic move challenges balance and strengthens the entire hip region while opening up the hip crease for a more even appearance in some poses.
6. Mobility and flexibility work
Dedicated mobility routines help maintain healthy hips and prevent compensations. Focus on hip flexor stretches hamstring mobility and glute activation drills. Consistency is more important than intensity here because flexible joints move more efficiently and reduce the risk of imbalances.
Nutrition and recovery basics for hip health
Sound nutrition supports muscle growth and recovery which is essential when you are building the hip region. Ensure adequate protein high quality fats and a mix of carbohydrates to fuel workouts. Hydration matters especially for joint health and tissue elasticity. Sleep is where most recovery happens so establish a regular rest pattern. Avoid overtraining which can lead to niggling injuries and inflamed joints that derail progress.
Additionally pay attention to body signals. If you experience persistent pain swelling or unusual movement patterns consult a professional. Pain is a message that something needs adjustment. Listen and adjust rather than push through it.
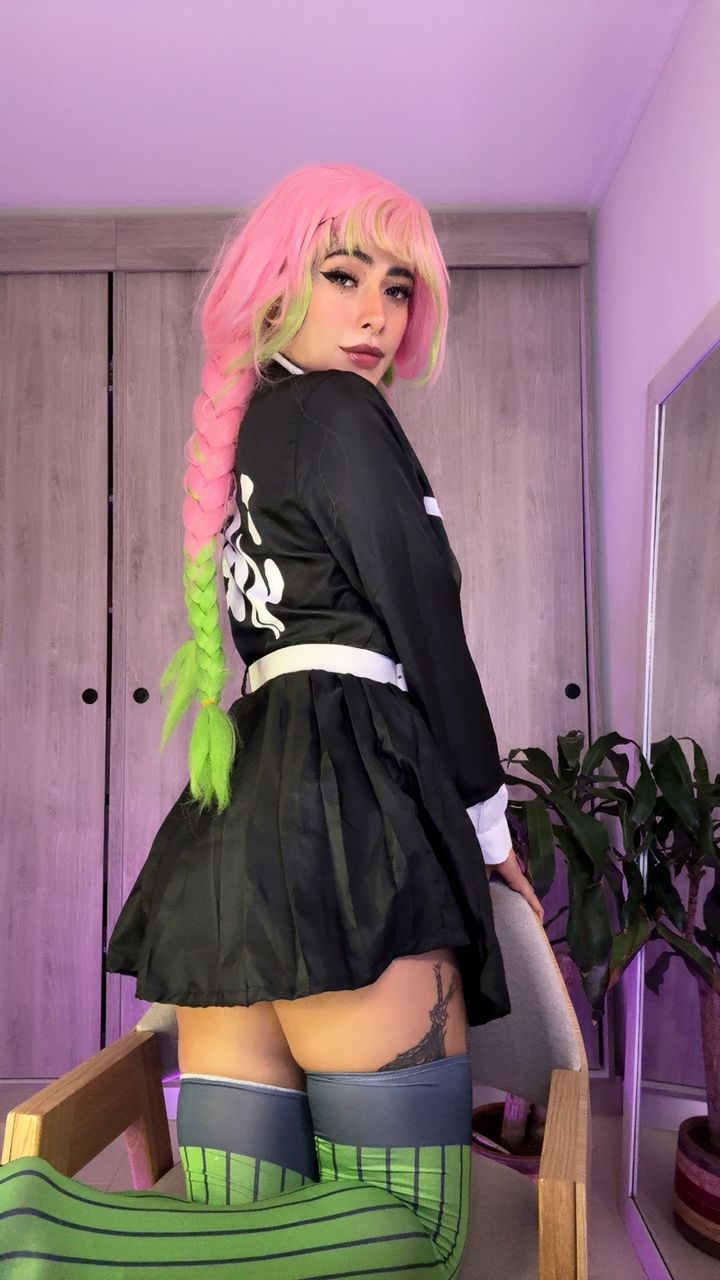
Fashion and posing tips to flaunt hip dips in photos and clips
Weight distribution along the hip line interacts with fabric drape and lighting to craft the final look. Here are practical tips for photographers models and fans who want to celebrate the violin hip silhouette rather than fixate on it.
- Angles matter shoot slightly from above to emphasize the outer curve or rotate to reveal the dip from the side. Small shifts in angle dramatically alter perception.
- Lighting strategies use side light to cast shadows that highlight the edge. A softer fill from the opposite side keeps the image balanced while preserving depth.
- Wardrobe choices choose outfits with structured lines around the hips such as high waisted bottoms or tailored shorts. Fabrics with slight shine can accentuate contour without looking harsh.
- Posture cues stand tall with hips stacked over feet and ribcage relaxed. A confident stance can transform the perceived shape in the frame.
- Movement looks micro movements like a slow leg lift or a gentle hip sway can showcase the hip edge without drawing attention to a single static pose.
Real life scenarios that show how to talk about hip dips
Real world conversations help you translate anatomy into creative direction and mutual understanding. Here are some relatable situations that illustrate how to use the topic in a practical way. You can mix humor with clear requests to keep communication light and effective.
Scenario A: You are a photographer planning a shoot
Situation You want to highlight the violin hip silhouette while keeping the model comfortable and confident. You want a look that embraces natural anatomy with tasteful lighting and color grading.
Sample direction I want a side angle to show the outer hip edge. Use a soft fill to balance shadows and keep the focus on the curve. Please advise on wardrobe options that will enhance the silhouette and suggest two locations with available natural light.
Scenario B: You are a content creator scheduling a clip about hip dips
Situation You are preparing to shoot a short clip that centers on hip shape and movement in a respectful educational manner. You want clear framing and safe guidance for viewers new to the topic.
Sample message I want a three minute clip focusing on hip edge from the side and a brief explanation of the anatomy in simple terms. Include a few poses that show the transition from a relaxed stance to a more engaged posture. Share availability and pricing.
Scenario C: You are planning a body positive style post for social media
Situation You want to celebrate natural variation in the body while offering tips for flattering presentation in photos and video. You want to avoid shame or comparison and keep the tone inclusive and empowering.
Sample caption I love how every body finds its own rhythm. Hip edge and shape are part of what makes you unique. Here are three simple pose ideas that highlight the silhouette while staying comfortable for long shoots.
Safety and body image ethics around hip dips
Body image conversations matter in media spaces especially within the kink and fetish communities where confidence and consent are central. Approaching hip dips with curiosity and kindness helps create a welcoming environment. Avoid shaming or making negative judgments about someone else body shape. Focus on what makes a person feel powerful and comfortable whether it is through posture lighting wardrobe or movement.
If you want more depth on this topic
For more on hip dips including curated content ideas and creator driven examples visit our main guide here Best Hip Dips OnlyFans to explore additional perspectives and practical tips. This resource is designed to be a practical companion offering actionable steps you can implement today to celebrate your natural silhouette while building confidence and creative momentum. If you found this guide helpful you will likely enjoy the broader insights available in the main article.
Ready to level up your knowledge and see more examples check out the comprehensive main guide here Best Hip Dips OnlyFans and keep exploring how creators showcase the violin hip silhouette in diverse entertaining ways.
FAQ
Explore Popular OnlyFans Categories
Anal
Asian OnlyFans
BDSM
Big Ass OnlyFans
Big Tits OnlyFans
Bimboification
Bisexual OnlyFans
Brunette OnlyFans
Cheerleading Uniforms
College OnlyFans
Cosplay
Cuckold
Deepthroat OnlyFans
Dick Rating OnlyFans
E Girl OnlyFans
Exhibitionism
Feet
Femboy OnlyFans
Fetish Models
Foot Worship
Goth
Hairy OnlyFans
JOI OnlyFans
Latex
Latina OnlyFans
Lesbian OnlyFans
Lingerie
Massages
Milfs
No PPV
OnlyFans Blowjob
OnlyFans Streamers
Pegging
Petite OnlyFans
Piercings
Pornstar
Skinny
Small Tits
Squirting
Swinging
Tattoos
Teacher OnlyFans
Teen
Thick
Trans
Yoga OnlyFans
18 Year Olds On OnlyFans
Oh and if you're looking for our complete list of the best OnlyFans accounts by niche, fetish and kink...check this out: Best OnlyFans Accounts