 Fuck Each Other Not The Planet Unisex
 Wear My Kink
Oil Application: Enhancing the Gloss
For fans chasing nipple gloss and glossy skin the right oil technique can elevate the look instantly. If you want the best curated guide for Puffy Nipples on OnlyFans, check out Best Puffy Nipples OnlyFans.
What is oil gloss and why it matters for nipple play
Gloss is more than a look it is a texture experience. When you apply oil to the skin it adds a reflective surface that catches light in a way that makes the nipples and surrounding areola area feel larger and more prominent. In kink and fetish worlds gloss can enhance visibility for cameras on OnlyFans and amplify the sensory cue during scenes. Gloss creates a seductive sheen that makes even subtle movements feel dramatic. For many people gloss is a visual and tactile invitation that deepens immersion whether you are watching a clip or participating in a private session. Understanding the science behind gloss helps you pick the right oils and apply them in a way that respects skin health and consent. Gloss is not about heavy makeup it is about a light even layer that highlights curves and textures without looking greasy or slippery. The goal is a controlled shine that stays where you want it and fades gracefully where you do not. If you have ever watched a glossy nipple close up and thought I wish I could recreate that safely this guide will help you do exactly that with confidence. Gloss can also be used to simulate moisture on clean skin which can be an aesthetic element in photography and video. Remember every skin type is different so what works for one person may require adjustments for another. Take notes on how your skin responds and adapt your routine accordingly. Safety first means patch testing is smart whether you are new to oils or experienced with different products. Patch testing involves applying a small amount of product to a discreet area such as the inside of the wrist or the upper arm and waiting a few hours to observe any reaction. If there is redness itching or irritation stop using the product immediately and choose a gentler option. Patch testing is a simple step that prevents discomfort during a shoot or a live performance and that small precaution pays off big in the long run. Gloss also matters for performers who want their skin to look hydrated and alive under hot stage lights or studio bulbs. The oil helps the skin appear vibrant rather than flat or dull and it can subtly emphasize the natural contours of the breast and nipple area. When done with care gloss can elevate a visual moment from good to unforgettable while keeping the experience comfortable for the person wearing the oil. In this guide you will find practical recommendations for safe oils, applying techniques, and realistic scenarios that you might encounter in content creation or fan interactions. We will cover how to select oils you can trust how to apply them without creating a mess and how to maintain gloss across different lighting setups. You will also see real life examples that show when gloss shines and when it needs a touch up. If you want to learn more about the best Puffy Nipples content on OnlyFans you can explore the main guide at Best Puffy Nipples OnlyFans which is linked above for easy access.
Choosing the right oils for gloss
Choosing the right oil is the foundation of a safe and stunning gloss look. The wrong oil can make the skin feel sticky separate or irritate the skin while the right oil delivers a smooth even sheen that photographs beautifully. Here are the core categories and how they work in practice.
Carrier oils versus blends
Carrier oils are the base you spread on the skin. They provide moisture and create a consistent surface for gloss. Common carrier oils include sweet almond oil jojoba oil sunflower oil and coconut oil. Each has a distinct texture and feel. Almond oil is light and smooth while jojoba is closer to the skin’s natural oils and absorbs well. Coconut oil can leave a deeper sheen but it may feel heavier for some people. Blends combine two or more carriers to balance glide grip and scent. When you blend a light carrier with a touch of a richer oil you often get a more controlled gloss that lasts longer without feeling greasy.
Safe oils versus risky options
Skin safety is non negotiable especially for intimate areas. The safest options are plain unperfumed carrier oils with no added fragrance or color. Fragrances can irritate sensitive skin and colorants can stain clothing or cameras. If you have known sensitivities it is wise to choose hypoallergenic products that are specifically marketed for sensitive skin. For added glow some people like a tiny amount of silicone based enhancers but these should be used sparingly and only if you know your skin tolerates them well. Always perform a patch test before applying any new product to a larger area. If you notice redness itching or a burning sensation discontinue use immediately. Consider talking to a dermatologist if you have persistent skin reactions.
Essential oils and fragancias
Essential oils bring aroma and a different texture but they can be potent. If you are new to essential oils start with a very small amount and only use high quality pure oils. Some essential oils can cause irritation in sensitive areas or interact with skin in unusual ways when applied near mucous membranes. A safer approach is to use essential oils only in very diluted form and away from intimate zones unless you have tested tolerance with a patch test. If you do decide to use essential oils keep the concentration low and use a reputable diluent. Always read product labels and avoid any essential oil known to cause irritation for you personally.
Allergy checks and skin health
Allergies happen. If you have sensitive skin or a history of dermatitis or eczema proceed with extra caution. For anyone with nut allergies avoid oils that contain nut based ingredients such as almond oil or hazelnut oil. If you have a history of skin reactions consult a medical professional before trying new products especially near sensitive areas. Remember when you apply any oil to the chest and nipple area you are dealing with thin skin that can react quickly to irritants. Keeping your routine simple at first is a safe route. Start with a plain neutral carrier oil and confirm there is no reaction before adding fragrance or other additives. Proper skin care can prevent flaking dryness and discomfort and it helps you achieve the glossy look you want without sacrificing comfort.
Texture and finish considerations
The texture of the oil matters for gloss results. Lighter oils distribute more evenly and leave a subtle sheen ideal for close up shots. Heavier oils can create a more dramatic gloss that catches light in a London style fashion on camera but can feel heavy in real life. If you are uncertain experiment with a small amount on a hidden skin patch then test under the lighting you plan to use for shoots. The goal is a finish that reads as gloss on camera but feels comfortable during wear.
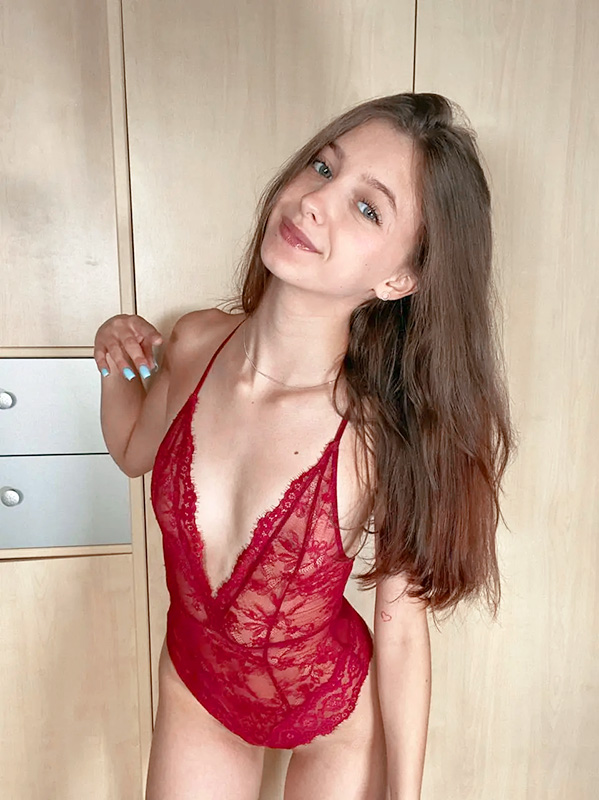
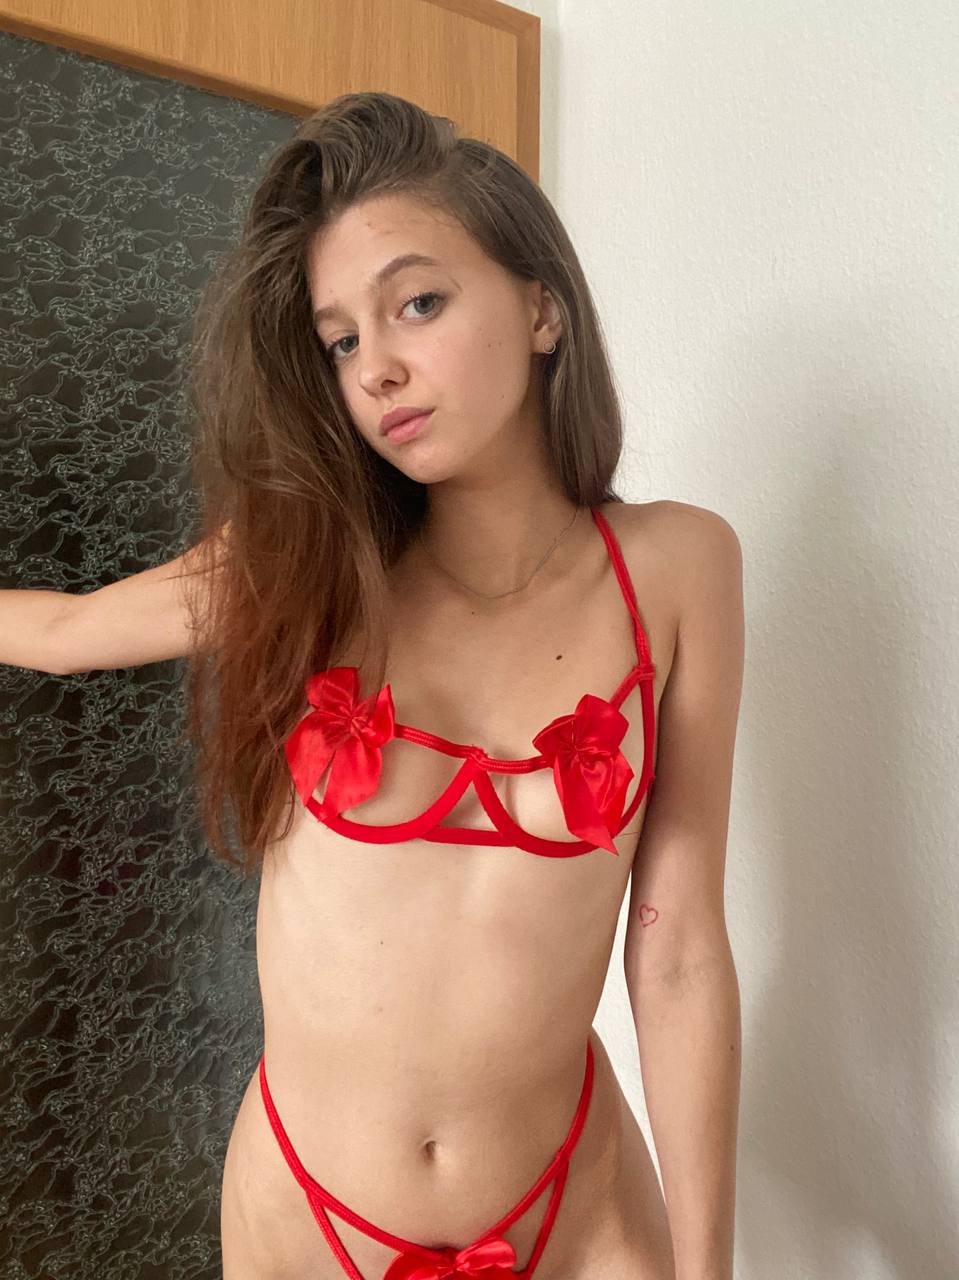
Best Puffy Nipples OnlyFans: 25+ Wild Free OF | You Won't Believe #1

Eli Goth 🖤

🥵 Shadow Kitsune


👅 Bunny Spits 💦
😈 Anna Filthy Princess 👑

🇬🇧 Submissive British Sofia 🧚

😛 Slutty Jai ⭐

Latina Milf Paula Flores 😈


🍌Innocent Hanna Banana🍌
Dominatrix Luna 🐈⬛

Tiny Katya Sun 💋

Maddie 🏳️⚧️


Redhead Ivy Eros💋


Viktoria Kristensen 🇳🇴✨
Use OnlyFans Without Anyone Knowing…
Tired of looking over your shoulder? Goon in total, blissful anonymity with our OnlyFans Stealth Browsing Guide. No bank alerts, no leaks, and zero trail. Download the FREE guide and use OnlyFans without anyone knowing. Pope-Approved 😂
Check your inbox 📬
We've sent a 6-digit code to . Enter it below to get your guide. Code expires in 15 minutes.
Building your guide… 🔒
Hang tight — we're generating your personalised Stealth Browsing Guide. Your download will start automatically in a few seconds. We'll also email you a copy.
Preparing…
Your eBook should have downloaded automatically.
Click here if it didn't start.
Tools and safety for applying gloss
Tools help you control where the gloss ends up and how long it lasts. You do not need a big kit but you do want a few reliable items to keep your process clean and consistent.
- Clean hands or medical grade gloves to prevent oil on unclean skin
- A clean surface or towel to catch any drips
- A small brush or clean fingertip for precision application
- A mirror so you can monitor coverage and shine level
- Portable lighting that mimics your content setting for best results
- Soft cloths for gentle removal or adjustments
Safety is not complicated. Always wash hands before applying oil especially near the chest area to avoid transferring oils to sensitive areas such as the eyes or face. If you wear adhesive nipple covers or tape make sure the skin is dry and free of oils before applying adhesive. Oil can reduce the effectiveness of adhesives so test compatibility if you plan to wear coverings during a shoot. After a session wipe away excess oil with a gentle cloth and allow skin to breathe for a while before putting on clothing that might trap heat or moisture. These precautions protect skin health and help keep gloss looking sharp for the duration of your content or event.
Step by step guide to applying oil for gloss
Here is a practical approach you can use almost anywhere whether you are shooting content on a set or simulating a private moment. The steps keep things simple and repeatable.
Step 1 prep the skin
Start with clean dry skin. If you wash the area do not overdry the skin. A light dab of clean towel is enough to remove excess moisture. Dry skin holds oils better and glows more evenly under light. Avoid applying oil on skin that feels rough or irritated. If the skin shows dryness a tiny amount of plain moisturizer can be used as a base but test resistance first. The objective is a smooth canvas that reflects light without patchiness.
Step 2 patch test
Always patch test a small area behind the ear or on the inner forearm. Wait a few hours to check for redness itching or irritation. If there is a reaction wait another day before attempting a full coverage. Patch tests reduce the risk of a poor experience during a shoot and protect sensitive skin from surprises.
Step 3 apply a thin even layer
Apply a thin layer starting at the center of the nipple and slowly spread outward toward the surrounding areola. Use light pressure with your fingertips or a small brush to distribute the oil evenly. Keep the layer so it reads as a glossy sheen rather than a thick pool. The goal is a controlled shine that enhances landmarks like the nipple peak and the edge of the areola. If you are using a blend remember that smaller amounts go a long way. It is easier to add more than to remove excess.
Step 4 build depth with a second pass
After the first thin layer has settled gently run the fingertips over the surface again to equalize coverage. A second light pass can deepen the gloss and improve cohesive lighting in photos and video. Do not overdo the second pass as heavy oil can create a slick look that reads as oily rather than glossy. The right balance makes nipples appear perky and supple while maintaining a natural texture.
Step 5 set and adjust for lighting
Look at how the light strikes your chest in your usual content lighting. If the gloss looks too bright adjust by dabbing a clean cloth along the edges to reduce glare. If the gloss has a nice glow consider leaving it alone and focusing on the surrounding skin texture to maintain a balanced look. Different lighting setups may require small modifications so be prepared to tweak your approach for studio bulbs natural daylight or stage lighting.
Step 6 daily maintenance and reapplication
Gloss fades with movement and sweat so you may need touch ups during longer shoots. Carry a small bottle of your preferred oil and a clean cloth for quick rejuvenation. A quick reapplication around the edge of the areola or a light dab on the nipple can restore sheen without creating a heavy film. The key is to maintain a fresh look without over saturating the area.
Real life scenarios that show what to request
Real world examples help you understand how to ask for exactly what you want. Below are practical scenarios and sample messages you can adapt to your own preference. Replace details with what fits your vibe and always keep communication clear and respectful.
Scenario one: The first time gloss test
Situation You are trying gloss for the first time and want a gentle introduction. You love a soft natural glow that photographs well.
Sample request Hello I am new to oil gloss. Could you create a two minute clip showing a light even gloss on the nipple area with a neutral carrier oil and no fragrance Please share price and delivery time I appreciate your work.
Scenario two: A stage ready gloss on red neon lights
Situation The shoot uses bold lighting and you want a dramatic glow that pops under neon. You want a controlled shine that highlights the shape of the nipples and the surrounding skin.
Sample request Hey I would love a three minute clip featuring a glossy finish on areola and nipple using a light carrier oil with gentle side lighting Focus on even spread and natural reflections Let me know your rate and how long delivery will take.
Scenario three: The preference for fragrance free gloss
Situation You prefer fragrance free products and want to ensure a clean scent profile.
Sample request Hello I need a fragrance free gloss look. Please use a plain unscented carrier oil and no added fragrance or essential oils Tell me price and delivery time Thank you.
Scenario four: Consistent weekly gloss bundles
Situation You want regular gloss content and are open to a bundle arrangement that gives you steady updates at a discount.
Sample request Hi I would like a weekly gloss clip package with two to three minute clips each week at a reduced rate If you offer bundles please share the pricing and how I can subscribe I follow your work and would love a long term plan.
Gloss finishing touches and maintenance
Sometimes it is the little details that make or break the look. Consider these tips to keep gloss looking pristine across shoots and days.
- Lightly powder around the edges if shine becomes too strong for the camera while keeping the center glossy
- Use a clean cloth to blot any excess oil that migrates onto clothing or backgrounds
- Avoid contact with rough fabrics that can pull away oil or leave lint behind
- Clean up after a shoot by washing skin with a gentle cleanser and applying a light moisturizer to prevent dryness
- Hydration inside the body supports skin health so drink water and maintain a balanced diet that benefits your skin
These small steps help keep a glossy look consistent whether you are posting clips loading private galleries or performing in front of a camera. A routine that prioritizes skin health and thoughtful application translates into better visuals and more satisfied viewers.
Gear and terms explained so you do not look like a clueless mess
Understanding the language helps you relax during shoots and communicate clearly with creators. Here is a quick glossary you can reference when planning gloss sessions.
- Carrier oil The base oil that carries moisture and delivers a smooth glide onto the skin
- Gloss A shiny finish created by oil on skin that reflects light in photographs and video
- Patch test A small skin test to check for irritation before applying product widely
- Fragrance free A product that has no added perfume to avoid irritants
- Essential oil A highly concentrated plant oil used for fragrance and potential skin effects apply with caution
- Adhesives Materials used to attach coverings or jewelry near the nipple area which can be affected by oil
- Areola The pigmented ring around the nipple which can catch light beautifully with gloss
- Areola sheen A term used to describe the reflective glow across the areola
Search phrases and tags that actually work
Finding creators who focus on nipple gloss requires the right search language. Use these phrases on social platforms to locate posts and profiles that emphasize gloss styling as part of a puffy nipple aesthetic.
- nipple gloss oil
- areola shine techniques
- puffy nipple gloss OnlyFans
- glossy nipple close up
- oil application for nipple visuals
- safe nipple oil for photos
When you discover promising creators on social media look for an OnlyFans link in their bio or pinned post. If a link is not visible send a respectful message asking if they offer gloss content or custom clips. Many creators are happy to share their OF link after a friendly introduction.
Common mistakes fans make and how to avoid them
- Overloading the surface with oil This creates a greasy feel that cameras pick up as glare instead of a soft glow. Start small and build up gradually
- Skipping a patch test This can lead to irritation or a reaction in sensitive areas Always patch test before applying widely
- Using fragrance near delicate skin Fragrances can irritate especially around the nipple area Keep fragrance free for intimate zones
- Ignoring adhesive compatibility Oil can weaken adhesives used for nipple covers Test compatibility before wearing any coverings
- Not communicating preferences Clear requests lead to faster results and happier fans and creators
How to support creators ethically and sustainably
Ethical support helps creators continue to produce high quality gloss content that you love. Subscriptions and tips are the backbone of sustainable work. If you want long term reliability consider subscribing for multiple months when a creator offers a discount. Small tips for extra work or faster delivery show appreciation and often improve results. Follow public posts and share content strategically to help creators grow their audience.
Legal considerations and platform rules you should know
Platform rules govern what can be posted and how explicit content can be. Respect creator boundaries and local laws at all times. If a request appears to push into illegal territory or a creator declines a request do not push back. Safety matters for both of you and respecting rules helps everyone stay on the right side of the line.
FAQ
What is nipple gloss and why use oil
Nipple gloss describes a shiny look that enhances the nipple and areola region. Oil creates a reflective surface that catches light and adds depth to the texture. It is a simple way to elevate visuals for photography and video content.
Can I use essential oils on sensitive areas
Essential oils can be irritants especially near delicate skin. If you choose to use essential oils always dilute very strongly and perform patch tests. When in doubt skip essential oils and rely on fragrance free carrier oils.
What oils are best for gloss without irritation
Plain unscented carrier oils such as jojoba or sweet almond are popular choices. They provide smooth glide and a natural finish. If you have sensitive skin consider mineral oil free and fragrance free options and always patch test before broader use.
Is it safe to wear oil during a shoot with adhesives
Oil can reduce adhesion so test the combination with your specific adhesive. If you rely on adhesives for coverings or shapes plan a dry run to confirm the hold remains reliable after applying a small amount of oil in the target area.
How do I remove oil after a shoot
Use a gentle cleanser and warm water to remove oil slowly. Pat the skin dry and apply a light moisturizer to prevent dryness. For sensitive skin a gentle wash and rinse is enough to restore skin condition without irritation.
What is the best way to request gloss content from a creator
Be clear about your preferred carrier oil the level of shine you want and whether you want fragrance or essential oils. Include details on timing and format and mention any lighting or camera setup that matters for you. Respect their rules and be patient with delivery timelines.
How do I patch test quickly
Choose a small area such as the inside of the wrist apply a tiny amount of oil on clean skin and wait 24 hours. Look for redness itching or irritation. If there is no reaction you can consider applying a small amount to a larger area for testing under lighting conditions you plan to use.
Explore Popular OnlyFans Categories
Anal
Asian OnlyFans
BDSM
Big Ass OnlyFans
Big Tits OnlyFans
Bimboification
Bisexual OnlyFans
Brunette OnlyFans
Cheerleading Uniforms
College OnlyFans
Cosplay
Cuckold
Deepthroat OnlyFans
Dick Rating OnlyFans
E Girl OnlyFans
Exhibitionism
Feet
Femboy OnlyFans
Fetish Models
Foot Worship
Goth
Hairy OnlyFans
JOI OnlyFans
Latex
Latina OnlyFans
Lesbian OnlyFans
Lingerie
Massages
Milfs
No PPV
OnlyFans Blowjob
OnlyFans Streamers
Pegging
Petite OnlyFans
Piercings
Pornstar
Skinny
Small Tits
Squirting
Swinging
Tattoos
Teacher OnlyFans
Teen
Thick
Trans
Yoga OnlyFans
18 Year Olds On OnlyFans
Oh and if you're looking for our complete list of the best OnlyFans accounts by niche, fetish and kink...check this out: Best OnlyFans Accounts